This whole idea started because somebody got hair dye on my bathroom sink.
We have a boarder living with us, and she got hair color on the sink. I looked at it and thought, well, that’s nice. Now what?
So I did what I usually do when I’ve got a stain I don’t know what to do with. I asked my daughter.
The Real-Life Stain Removal Guide
My daughter flips furniture, and over the years she’s gotten ridiculously good at getting stains, marks, paint, grime, ink and all kinds of other things off stuff that most of us would probably decide was ruined.
She told me what to do, and while we were talking I started thinking about how useful it would be to have one big guide for getting stains out of everyday things around the house.
So that’s what this is.
When I say “how to get any stain out of anything,” obviously I don’t mean we’re restoring oil paintings or removing a stain from car paint. I’m talking about normal life.
Blood on clothes.
Grease on a shirt.
Crayon on the wall.
Crayon that went through the dryer, which deserves its own category of parental misery.
Grape juice on the carpet.
Pet stains.
Hair dye in the sink.
Coffee on the couch.
Burnt food in a pan.
Stains on cutting boards.
And all those other little messes that somehow appear while everybody swears they have no idea how they got there.
The biggest thing I’ve learned while putting all of this together is that you don’t just need to know what made the stain. You also need to know what the stained thing is made of.
That’s the part that can save you from making a little problem into a very expensive problem.
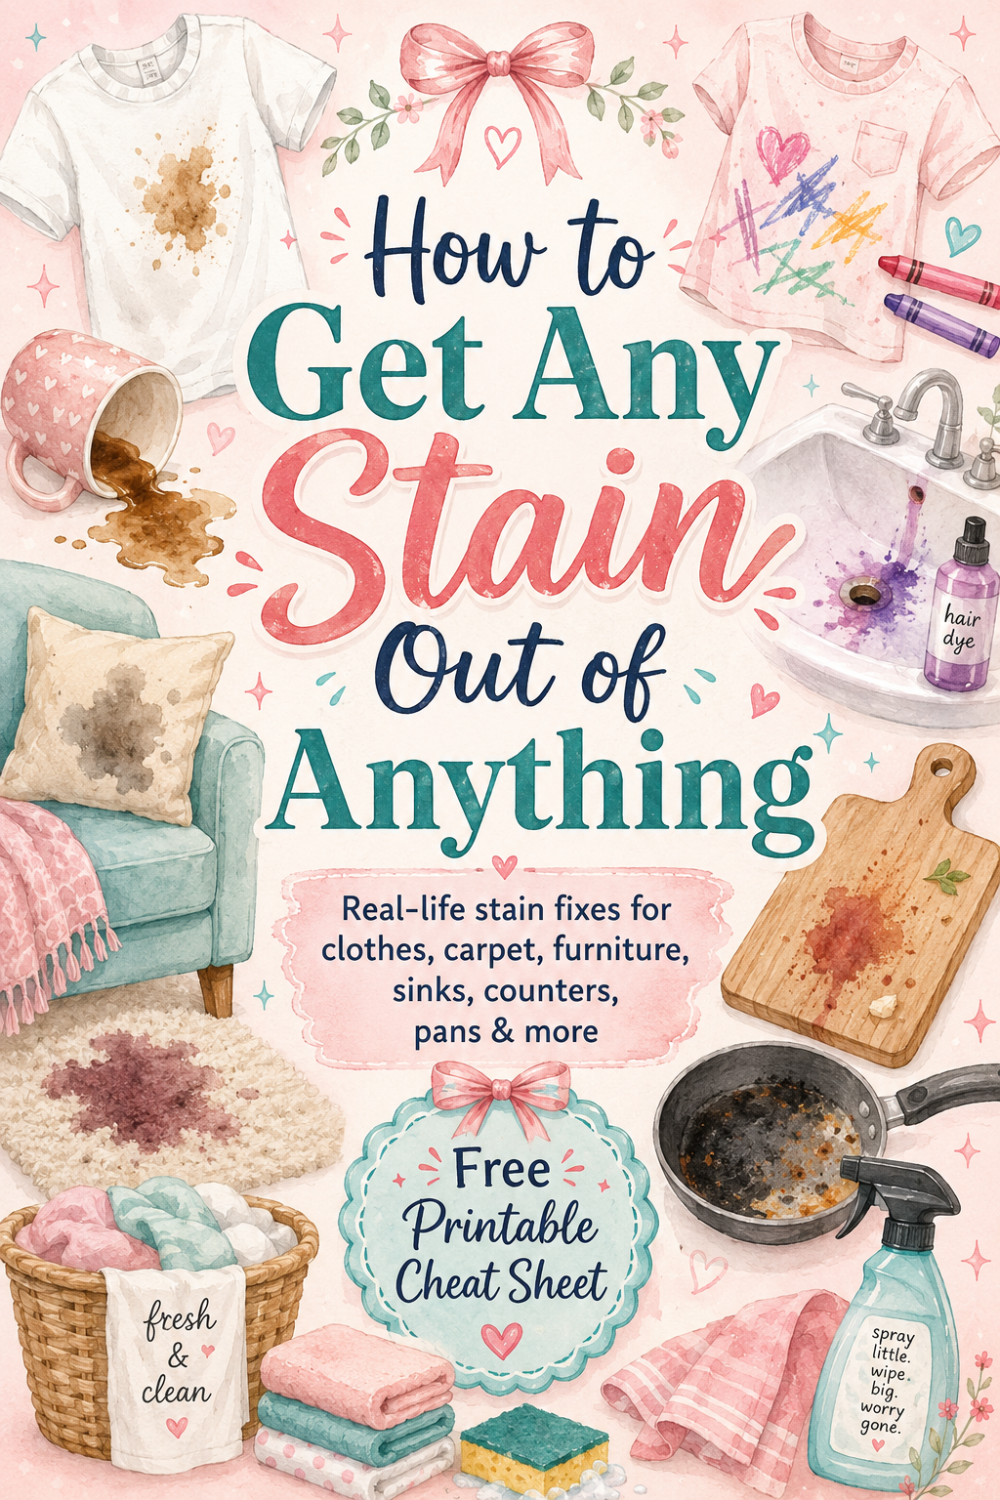
Need a free cheat sheet? Say no more – here you go!
Grab it here:
Stain Removal Cheat Sheet <—- Click here
Before You Try to Remove Any Stain
There are a few rules I want to get out of the way first because they apply to almost everything.
Blot Before You Scrub
If it’s a spill on carpet, upholstery, clothing or another absorbent surface, blot up as much as you can before you start scrubbing.
Scrubbing can spread a wet stain and push it farther into fibers.
Whenever you can, use a white cloth or white paper towel so you don’t accidentally transfer dye from your cleaning cloth onto the thing you’re trying to clean.
Work From the Outside Toward the Center
If you’ve got a spot on carpet or upholstery, start around the outside edge and work inward.
Otherwise, it’s really easy to turn a two-inch spot into a six-inch spot.
Test Somewhere Hidden First
This matters especially when you’re using:
- Hydrogen peroxide
- 91% isopropyl alcohol
- A Magic Eraser
- Bleach
- An abrasive cleaner
- A stain remover you’ve never used on that material
- Anything on painted walls, carpet, upholstery, wood or colored fabric
A cleaner can remove the stain beautifully and remove the color or finish right along with it.
That’s not a win.
Don’t Mix Cleaning Products
This is one rule I wouldn’t mess around with.
Don’t start combining cleaners because one didn’t work fast enough.
In particular, household bleach shouldn’t be mixed with other cleaners or disinfectants. The CDC specifically warns that mixing bleach with other cleaning products can release dangerous vapors.
If you try one treatment and want to move on to something else, finish the first treatment, rinse or remove it as directed, and let the area dry when appropriate before using something different.
Don’t Put Stained Clothes in the Dryer Until You’re Sure the Stain Is Gone
Heat can make some stains much harder to remove.
Wash the item, inspect it, and if the stain is still there, treat it again.
Air-drying while you’re working on a stubborn stain is safer than sending it through the dryer and hoping for the best.
Especially if crayons are involved.
We’ll get to that little nightmare in a minute.
A Basic Stain-Removal Kit to Keep Around the House
You don’t need a cabinet full of 73 special cleaners.
For normal household stains, these are the things I’d want around:
- Liquid dish soap
- Liquid laundry detergent
- Enzyme laundry stain remover
- Enzyme pet-stain cleaner
- Color-safe oxygen bleach
- 3% hydrogen peroxide
- 91% isopropyl alcohol
- Baking soda
- White vinegar
- A pH-neutral natural-stone cleaner if you have stone counters
- A non-scratch cleaner appropriate for your sinks or counters
- White cleaning cloths
- White paper towels
- Soft cleaning brushes
- A stiff brush for cast iron
- A plastic scraper or old credit card
- Non-scratch sponges
- Magic Erasers
And no, that doesn’t mean you pour all of them onto the same stain.
Pick the one that fits the stain and the surface.
How to Get Grease and Oil Out of Clothes
Cooking oil, butter, bacon grease, salad dressing and all those other oily stains need something that can break through grease.
Start by blotting away any excess oil.
Then:
- Put a little liquid dish soap or liquid laundry detergent directly on the stain.
- Gently work it into the fabric.
- Let it sit for several minutes.
- Wash according to the garment’s care label.
- Check the stain before drying.
If you can still see it, treat it again.
Old grease stains may need more than one round.
How to Get Blood Out of Clothes
This is one my daughter was very specific about.
Start with cold water.
Don’t start with hot water.
Rinse the blood stain with cold water, and if you can, rinse from the back of the fabric so you’re pushing the stain back out rather than farther through it.
Then reach for hydrogen peroxide.
Peroxide can be very effective on blood, but test it somewhere hidden first because it can lighten some fabric dyes.
Once you know the fabric can handle it:
- Apply a small amount of hydrogen peroxide to the stain.
- Let it bubble briefly.
- Blot with a clean white cloth.
- Rinse with cold water.
- Repeat if necessary.
If there’s still staining, use an enzyme-containing laundry pretreatment before washing. Enzyme cleaners are useful on protein-based stains such as blood. Then wash according to the garment label and air-dry or inspect carefully before using the dryer.
The important part is that peroxide isn’t something I’d blindly pour over every colored shirt in the laundry basket.
Spot-test first.
How to Get Ink Out of Clothes
Ink can be stubborn, and some inks may never disappear completely.
For washable fabric, my daughter’s choice is 91% isopropyl alcohol.
Here’s how I’d do it:
- Put white paper towels or a clean white cloth under the stained area.
- Test the 91% alcohol on a hidden spot first.
- Dab or blot the ink with the alcohol.
- As the ink transfers onto the towel underneath, keep moving to a clean section.
- Don’t scrub back and forth and spread it around.
- Rinse thoroughly.
- Wash according to the care label.
- Air-dry and inspect before putting it in the dryer.
Alcohol can affect dyes and finishes, which is why that little test spot isn’t optional.
How to Get Fruit Juice and Berry Stains Out of Clothes
Strawberries, blueberries, grape juice, fruit punch and all those brightly colored things can look much worse than they really are.
Start by rinsing the stain with cool water.
Whenever possible, run the water through the back of the fabric.
Then:
- Pretreat with liquid laundry detergent or an enzyme stain remover.
- Let it sit according to the product directions.
- Wash.
- Check before drying.
- If discoloration remains, try a color-safe oxygen bleach that’s appropriate for the fabric.
Don’t automatically reach for chlorine bleach, especially on colored clothing.
How to Get Coffee and Tea Out of Clothes
Blot up as much as possible first.
Then rinse the stain with cool water, pretreat it with liquid laundry detergent or stain remover and wash it according to the care label.
If it’s still there, treat it again before drying.
Coffee stains are sneaky because sometimes they practically disappear when the fabric is wet and then show right back up again after it dries.
How to Get Tomato Sauce, Ketchup and Spaghetti Sauce Out of Clothes
Scrape away any sauce that’s sitting on top of the fabric.
Don’t rub the blob deeper into the shirt.
Then:
- Rinse the stain from the back with cold water.
- Work liquid detergent or stain remover into the stain.
- Let it sit.
- Wash.
- Check before drying.
If your spaghetti sauce also contained a lot of oil, you may need to treat the remaining greasy part with dish soap.
How to Get Chocolate Out of Clothes
Scrape off excess chocolate first.
Then rinse or soak the stain in cool water, pretreat it with an enzyme stain remover or liquid detergent and wash.
Again, don’t dry until you’re sure it’s gone.
Chocolate has both color and fat in it, so sometimes you’re dealing with more than one type of stain at the same time.
How to Get Milk, Ice Cream, Eggs and Formula Out of Clothes
These are protein stains, which is where enzyme laundry products really come in handy.
Remove any excess food, rinse with cool water, pretreat with an enzyme-containing stain remover and wash according to the fabric label.
Heat isn’t your first move with protein stains.
How to Get Grass Stains Out of Clothes
Pretreat grass stains with an enzyme-containing laundry detergent or stain remover.
Give it some time to work instead of rubbing for 15 seconds and declaring defeat.
Wash according to the clothing label and use color-safe oxygen bleach if needed and appropriate for the fabric.
How to Get Mud Out of Clothes
Here’s one of the rare times when you may actually want to wait.
Let the mud dry.
Once it’s dry:
- Brush or scrape away as much dirt as possible.
- Pretreat what’s left.
- Wash.
- Check before drying.
Trying to attack a giant blob of wet mud usually just spreads mud everywhere.
How to Get Makeup and Lipstick Out of Clothes
Blot or scrape away anything sitting on top of the fabric.
Then pretreat with liquid laundry detergent.
For stubborn lipstick pigment, 91% isopropyl alcohol can sometimes help, but test the fabric first and blot onto white towels instead of rubbing.
Rinse, wash and air-dry until you’re sure the stain is gone.
How to Get Deodorant and Underarm Stains Out of Clothes
For fresh deodorant residue, start with liquid laundry detergent worked gently into the fabric.
For old yellow underarm buildup, pretreat thoroughly and try a color-safe oxygen bleach if the garment allows it.
Some old perspiration stains actually change the fabric or dye over time, so occasionally what looks like a stain is permanent discoloration.
How to Get Nail Polish Out of Clothes
This is one where I’d be careful.
Nail polish remover isn’t safe for every fabric. (Ask 13 year old me with a brand new dress on heading out to school – how I know… 🥺 – I’ll never forget that lesson. It ate a hole through in seconds…)
In particular, acetone can damage certain synthetic fabrics, including acetate.
Check the care label first.
If the fabric can safely handle the remover, put white towels underneath the stain, work from the back and keep changing the towel as the polish transfers.
Rinse thoroughly and wash.
And yes, sometimes nail polish wins.
How to Get Fresh Crayon Out of Clothes
For a normal crayon mark that hasn’t been through the dryer:
- Scrape away as much wax as possible with a dull edge.
- Work liquid dish soap into the stained area.
- Let it sit for a few minutes.
- Rinse or work the stain under warm water.
- Wash according to the fabric label.
Crayola’s stain instructions for fresh or melted crayon use this same basic method: remove excess wax, work in liquid dish soap and wash in the hottest water the fabric safely allows.
And now for the one every parent dreads.
How to Get Crayon Out of Clothes After It Went Through the Dryer
This deserves its own section because once a crayon goes through the dryer, you aren’t dealing with one cute little wax mark anymore.
You’ve got melted, heat-set wax and pigment spread around an entire load of laundry.
Don’t throw the clothes away yet.
Crayola actually has specific instructions for heat-set and melted crayon on fabric, and thankfully there is hope.
Step 1: Scrape Off the Wax
Let everything cool.
Use a dull knife, spoon, plastic scraper or similar dull edge to remove as much hardened crayon as you can.
Don’t damage the fabric trying to scrape every microscopic bit off.
You’re just removing the bulk of it.
Step 2: Work in Liquid Dish Soap
Apply liquid dish soap directly to the crayon marks.
Work it gently into the stained areas and let it sit for several minutes.
Crayon is waxy and oily, which is why the grease-cutting soap helps.
Step 3: Rinse With Warm Water
Work the stained area under warm water to loosen and rinse away what you can.
Step 4: Wash Again
Wash the clothes using:
- Your normal laundry detergent
- A color-safe oxygen bleach
- The heavy-soil setting if your machine has one
- The hottest water that’s safe for those particular fabrics
That’s important.
“Hottest water safe for the fabric” does not mean turn everything to nuclear and hope your clothes survive.
Follow the care labels.
Crayola specifically recommends a heavy-soil wash with the hottest water the fabric allows plus a color-safe oxygen bleach product for melted crayon.
Step 5: Air-Dry Everything
Don’t immediately put the load back in the dryer.
Air-dry it and inspect the stains.
If you still see crayon, repeat the treatment.
This is one time when patience is cheaper than replacing an entire load of clothes.
How to Clean Melted Crayon Out of the Dryer
Cleaning the clothes doesn’t help much if the next load goes into a dryer that’s still decorated with Crayola.
Crayola recommends:
- Wipe the dryer drum with paper towels to remove as much crayon residue as possible.
- Use a Magic Eraser according to its directions for remaining marks.
- Put clean, dry old rags in the dryer and run a cycle to pick up any residue that’s still there.
- Repeat if necessary.
I’d use old towels or rags that you aren’t emotionally attached to.
You want to know the crayon is truly gone before Grandma’s good blouse goes in there.
How to Get Stains Out of Carpet
Carpet is one of those things where less water is usually better than turning the stained spot into a small indoor swimming pool.
For most spills:
- Blot up as much as possible with white towels.
- Work from the outside toward the center.
- Use a carpet cleaner that’s appropriate for the stain and the carpet.
- Use as little liquid as you need.
- Blot again.
- Let the area dry thoroughly.
Don’t scrub wildly.
And don’t pour half a bottle of dish soap into the carpet. Dish soap is easy to rinse away in a sink. It’s a lot less fun when it’s foaming inside your carpet pad for the next six months.
How to Get Blood Out of Carpet
Blot with cold water first.
Then use a product intended for blood or protein stains on carpet.
If you want to try hydrogen peroxide, spot-test first because it can lighten carpet dyes.
Use a small amount, blot rather than saturate and let the area dry thoroughly.
How to Get Pet Urine and Pet Odors Out of Carpet or Upholstery
This is another area my daughter had a definite opinion about, and I agree with the order she uses.
First: Use an Enzyme Pet Cleaner
Blot up as much urine as possible.
Then use an enzyme cleaner specifically made for pet urine and odor.
Follow the directions on the product, including how long it needs to stay wet or sit on the area.
Enzyme pet cleaners are made to break down the organic material behind pet stains and odors, rather than just putting perfume over the smell.
Then: Use Peroxide if You Still Need It
After the enzyme treatment has been completed according to the product directions, you can consider hydrogen peroxide for lingering staining or odor.
But first test the peroxide somewhere hidden.
Bissell also recommends testing peroxide for colorfastness before using it on carpet because it can bleach or discolor some fibers.
If the material passes the test:
- Apply a small amount of hydrogen peroxide.
- Let it sit briefly.
- Blot.
- Let the area dry.
Don’t mix the enzyme cleaner and peroxide together in a bottle or dump them on at the same time.
Use them as separate treatments.
How to Clean Upholstered Furniture Without Ruining It
Here’s what “check the cleaning code” actually means, because saying that without explaining it isn’t terribly useful.
Look underneath the couch, chair or cushion for the manufacturer’s care tag.
You may see one of these letters:
- W means a water-based cleaner can be used.
- S means use a solvent-based cleaner, not water.
- WS means water-based or solvent-based cleaning may be appropriate.
- X means vacuum only; professional cleaning is usually the safer choice for stains.
Those codes are used because upholstery fabrics can respond very differently to moisture and solvents.
Once you know the code:
- Blot the stain.
- Use the correct type of cleaner.
- Use as little moisture as possible.
- Work from the outside inward.
- Let it dry completely.
And don’t assume a cushion cover is washable just because it has a zipper.
Sometimes the zipper is there so the manufacturer can put the cushion together, not so you can send the cover through the washer.
How to Get Crayon Off Painted Walls
Start gently.
For washable paint:
- Try a damp microfiber cloth.
- Add a little dish soap.
- Wipe gently.
If the crayon is hanging on for dear life, test a Magic Eraser somewhere hidden first and use very light pressure.
Magic Erasers are mildly abrasive, and some wall paint will show a shiny or dull spot if you scrub too hard.
So yes, they can remove the crayon.
They can also remove more than the crayon if you get overly zealous about it.
How to Get Marker Off Painted Walls
Start with soap and water.
If that isn’t enough, you can test a very small amount of 91% isopropyl alcohol in a hidden area.
Then dab the mark gently.
The reason I’m saying “test it first” for approximately the 40th time is that alcohol may remove the marker beautifully and decide the wall paint should come too.
How to Get Greasy Fingerprints and Scuffs Off Walls
For fingerprints, use warm water with a very small amount of dish soap.
Wipe gently with a microfiber cloth.
For scuff marks, start with a damp cloth and only move to a Magic Eraser if necessary.
Again: hidden spot first.
How to Get Hair Dye Out of a Sink
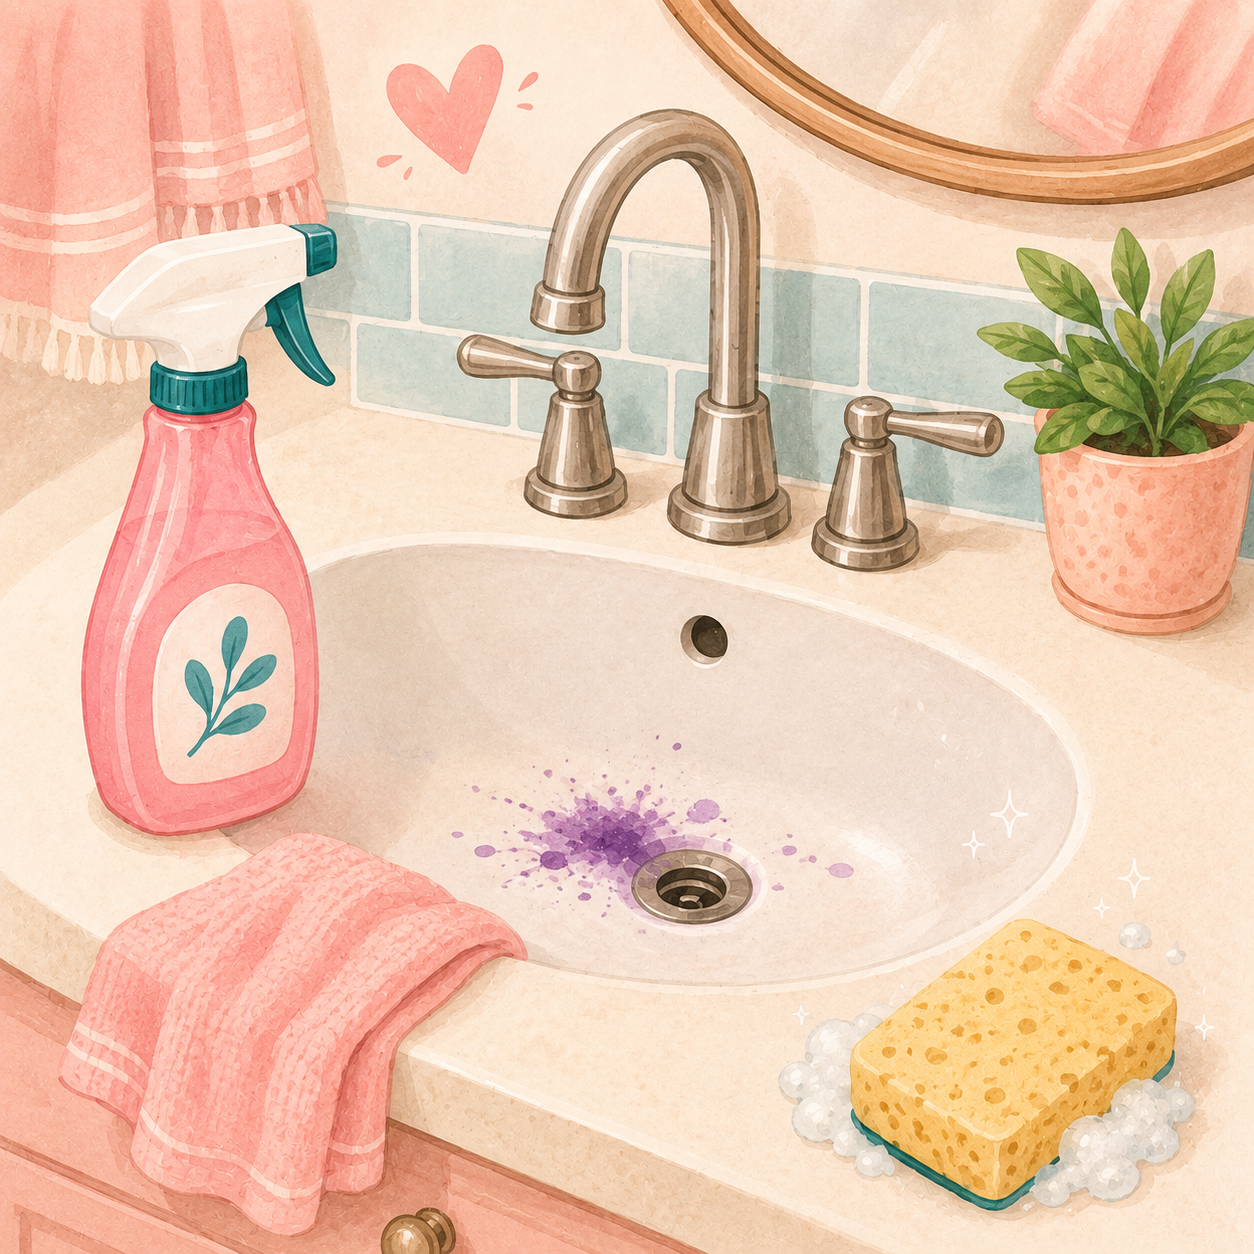
And here we are.
The stain that started this whole thing.
The biggest mistake with hair dye is asking only:
What removes hair dye?
You also need to ask:
What is my sink made of?
Start with warm water, dish soap and a soft cloth.
If that doesn’t do it, move to a cleaner that’s specifically safe for your particular sink material.
Don’t start with the strongest cleaner in your cabinet.
Hair Dye on a Porcelain or Vitreous-China Sink
Use warm soapy water first.
Then try a non-scratch cleaner labeled safe for porcelain or vitreous china.
Avoid steel wool and aggressive scrubbers because you don’t want to scratch or dull the glazed finish.
Hair Dye on an Acrylic or Fiberglass Sink or Tub
Be gentle.
Use dish soap and a soft cloth or a cleaner specifically labeled safe for acrylic.
I’d be very reluctant to start using acetone or powerful solvents on acrylic because some of them can permanently dull or damage the surface.
Hair Dye on Corian or Another Solid-Surface Sink
For Corian specifically, the manufacturer says routine stains can generally be cleaned with warm soapy water, household countertop cleaner or an appropriate cleaner for Corian.
Corian also publishes stronger procedures for stubborn stains and sinks, so follow the manufacturer’s directions rather than improvising.
Hair Dye on Stainless Steel
Start with dish soap and a soft sponge.
Clean in the direction of the grain and rinse and dry the sink.
Avoid steel wool.
Some stainless-sink manufacturers also specifically warn against hypochlorite bleach and harsh abrasive cleaners because they can damage the finish.
Side Note: If you get hair dye on clothing – spray it right away with hairspray – that usually does the trick. This is an old hairdresser’s trick… (ask me how I know 😉)
How to Get Stains Off Laminate Counters
Start with warm water, mild dish soap and a soft cloth.
For stubborn stains, use a non-abrasive cleaner that’s approved for your laminate brand.
Don’t scrub laminate with something aggressive just because the stain is annoying.
You don’t want to trade a stain for a permanently scratched counter.
How to Get Stains Off Quartz Counters
Quartz is easy to care for, but that doesn’t mean it’s impossible to damage.
Warm water, mild dish soap and a soft cloth or sponge should be your first move.
Quartz manufacturers generally recommend avoiding abrasive scrubbers and harsh chemicals that can dull or damage the resin-containing surface.
If the stain is stubborn, check the care instructions for your particular brand of quartz before moving on to something stronger.
How to Get Stains Off Granite Counters
For everyday cleaning, use a pH-neutral cleaner or stone-safe soap with a soft cloth.
Granite is natural stone, and its porosity and seal can vary, so I wouldn’t treat every slab exactly the same way.
For a stain that has soaked into the stone, a stone-specific poultice may be needed.
Avoid casually attacking granite with acidic cleaners or aggressive scrubbers. Stone-care guidance recommends pH-neutral or stone-specific products for routine granite cleaning.
How to Get Stains Off Marble
Marble is where I become very boring.
And boring is good when the alternative is permanently damaging an expensive countertop.
Use:
- A pH-neutral stone cleaner
- Water
- A soft cloth
Don’t use vinegar or lemon juice.
Acids react with marble and can etch the surface, leaving a dull spot that isn’t actually a removable stain anymore.
If you have a light or dull ring on marble and cleaning doesn’t change it, you may be looking at etching, not dirt.
More of any cleaner isn’t going to fix missing polish.
How to Clean a Stainless-Steel Sink
Use dish soap, warm water and a soft sponge or cloth.
Work with the direction of the grain if the sink has a brushed finish.
Rinse and dry afterward.
Don’t use steel wool.
And check the manufacturer’s care instructions before using bleach. BLANCO, for example, specifically warns against hypochlorite bleach and abrasive cleaning products on its stainless-steel sinks.
How to Remove Stains From Plastic Cutting Boards
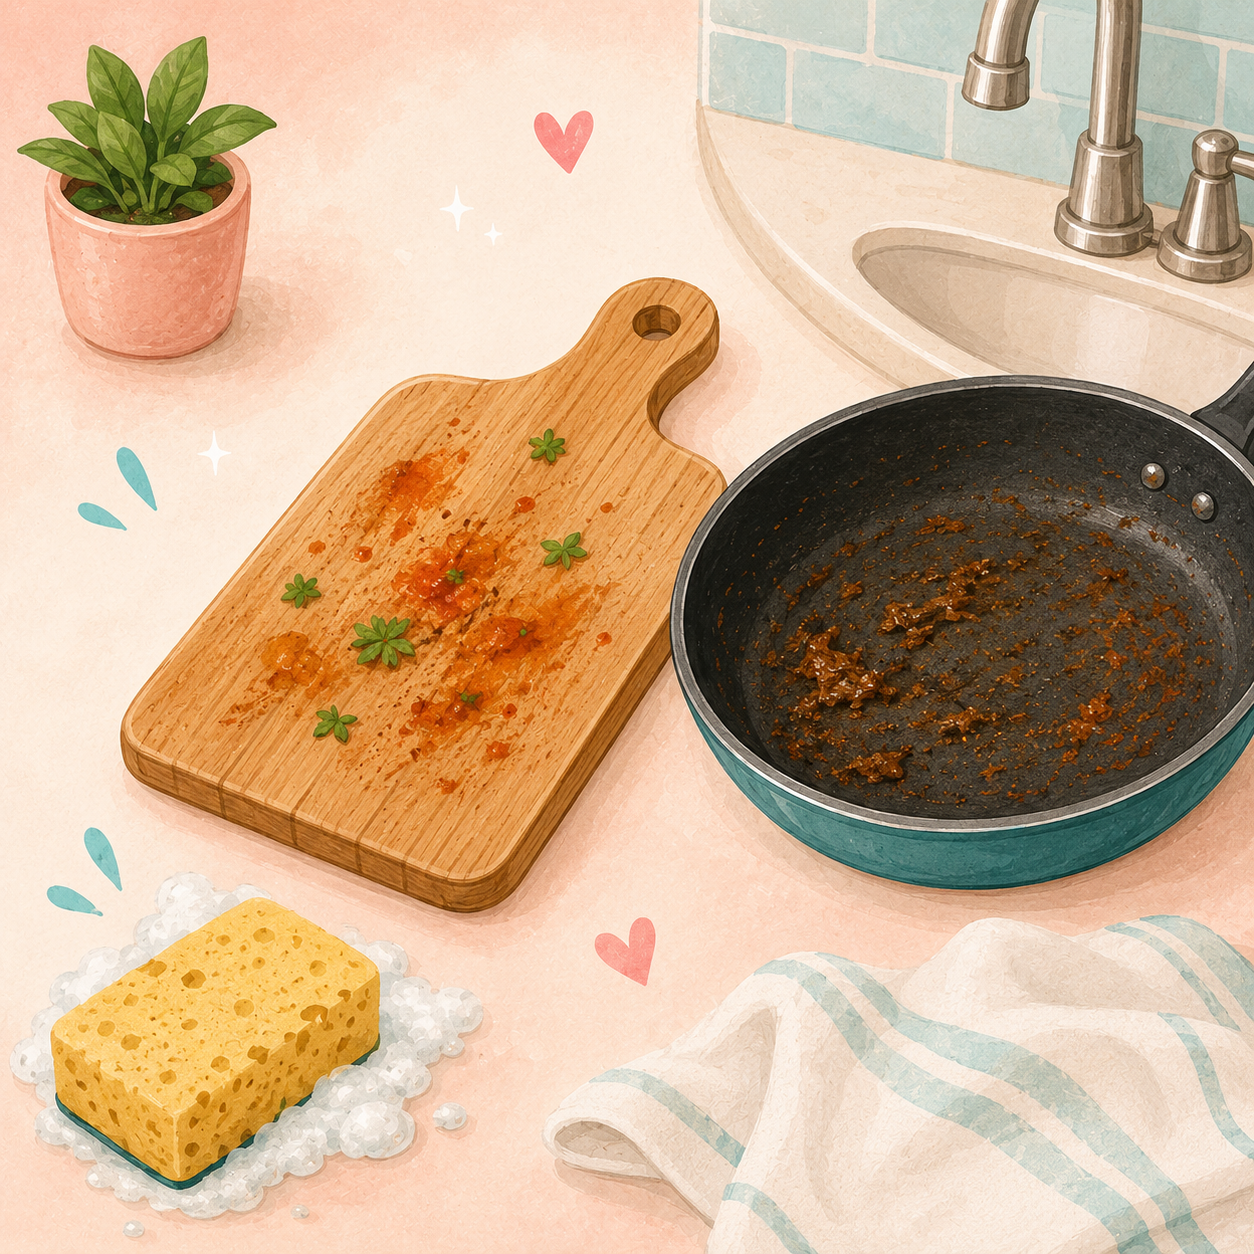
Wash the board thoroughly with hot soapy water.
For tomato, berry, turmeric and other food discoloration, try a paste of baking soda and water.
Let it sit, scrub gently and rinse.
Here’s something important, though:
Stain removal and sanitizing are not the same thing.
A plastic cutting board can still have a little discoloration and be clean.
If you’re sanitizing after raw meat or another food-safety concern, use a food-safe sanitizing procedure. USDA guidance says both plastic and wooden cutting boards can be sanitized with a solution of 1 tablespoon of unscented liquid chlorine bleach per gallon of water.
If the plastic board is deeply cut up and full of grooves that are difficult to clean, replace it.
How to Remove Stains From Wooden Cutting Boards
Wash the board with dish soap and water, rinse it and dry it promptly.
Don’t leave a wooden cutting board soaking in the sink.
For surface discoloration, try a gentle baking-soda-and-water paste.
Scrub lightly, rinse and dry.
Wood naturally changes color with age and use, so don’t feel like you need to bleach every little mark out of it just to make it look brand new.
Clean and food-safe matters more than showroom perfect.
How to Get Burnt Food and Stains Off Stainless-Steel Pots and Pans
Let the pan cool.
Add warm water and dish soap and let it soak.
Use a non-scratch sponge or scraper to loosen food.
For stubborn cooked-on residue, try a baking-soda paste or a non-scratch cleaner designed for stainless cookware.
The key word here is non-scratch.
How to Clean a Nonstick Pan
Gentle, gentle, gentle.
Let it cool first.
Then wash it with warm soapy water and a soft sponge.
Don’t use steel wool or an abrasive scrubber.
If the nonstick coating itself is peeling, flaking or badly scratched, that’s no longer a stain-removal problem.
That’s a replace-the-pan problem.
How to Clean Cast Iron
This is one we needed to make much clearer.
You absolutely can clean cast iron.
For normal stuck-on food:
- Wash the pan with warm soapy water.
- Scrub with a stiff-bristled brush, scrubbing pad or pan scraper.
- Rinse.
- Dry it completely.
- Wipe on a very thin layer of cooking oil if needed.
Lodge’s current care instructions recommend warm soapy water and a stiff brush or scrubbing pad for normal cleaning.
What if the Cast Iron Is Rusty?
Rust is different.
If you have rust:
- Scour the rust away.
- Wash the pan.
- Dry it completely.
- Re-season it.
Lodge says steel wool can be used when you’re intentionally removing rust before re-seasoning the pan.
That’s a completely different situation from taking steel wool to a stainless sink.
How to Clean Enameled Cast Iron
Think Dutch ovens and colorful enameled pots.
First, let the pot cool.
Don’t take a blazing hot enameled pan and fill it with cold water. The sudden temperature change can damage the enamel.
Then wash with:
- Warm water
- Mild dish soap
- A soft or nylon sponge
For really stubborn stuck-on food, you can add a little baking soda to water in the pot, simmer it for several minutes, let the pot cool and then wash it normally. Le Creuset recommends this method for stubborn residue.
Avoid metal scouring pads and harsh abrasives.
How to Clean Stained Plastic Food Containers
Ah yes.
The red spaghetti-sauce container that apparently plans to stay orange until the end of time.
Wash it with hot soapy water first.
Then try a baking-soda-and-water paste on the discoloration.
Let it sit and wash again.
And remember: plastic can stay discolored even after it’s clean.
There is a difference between dirty and no longer pretty.
How to Remove Stains From Wood Furniture
This is where my furniture-flipping daughter would tell you not to get reckless.
Before using alcohol, peroxide, acetone or an abrasive cleaner on wood furniture, figure out what’s on the wood.
It might be:
- Paint
- Polyurethane
- Lacquer
- Shellac
- Wax
- Oil
- Bare wood
They don’t all react the same way.
For a fresh spill on sealed wood, start by blotting it, then wipe gently with a barely damp cloth.
If necessary, use a tiny amount of mild dish soap, wipe again with clean water and dry the area.
If the mark is still there, stop and identify the finish before you start experimenting.
A stain is annoying.
Stripping the finish off Grandma’s table is considerably more annoying.
How To Remove Water Stains From A Wood Table Easily

How to Get Stains Out of a Mattress
With a mattress, the goal is to treat the stain without soaking the mattress.
Blot up liquids first.
Use as little cleaning solution as you can.
For urine, use an enzyme cleaner that’s appropriate for mattresses or upholstery.
For blood, start with cold water and consider spot-tested hydrogen peroxide.
Blot rather than soaking the foam.
Then let the mattress dry completely before remaking the bed.
This is also where a washable waterproof mattress protector suddenly starts looking like one of the greatest inventions mankind ever came up with.
How to Remove Rust Stains
Rust depends completely on what it’s sitting on.
Rust on cast iron is treated differently from rust on fabric or a porcelain sink.
One rule I’d remember:
Don’t automatically reach for chlorine bleach on a rust stain.
Use a rust remover made for the material you’re cleaning.
For rusty cast iron, scour and re-season.
For fabric, use a laundry rust remover that’s specifically labeled for fabric.
For sinks and hard surfaces, use something approved for the particular sink material.
How to Remove Hard-Water Stains
Those cloudy white spots around faucets and shower doors are usually mineral deposits.
Vinegar can be useful on some acid-safe surfaces.
But it is not an all-purpose hard-water cleaner.
Don’t use vinegar on marble and other acid-sensitive stone.
If you aren’t sure what the surface is, identify it before reaching for the vinegar bottle.
How to Remove Candle Wax
Let the wax harden rather than smearing warm wax farther across the surface.
On washable fabric, gently scrape away as much wax as possible with a dull edge.
Then treat the remaining oily or colored stain according to the fabric.
Be careful about using heat on synthetics and delicate fabrics.
How to Remove Gum and Sticky Residue
Cold can make some sticky things easier to remove.
Ice can harden gum enough that you can carefully lift or scrape away the bulk of it.
Use a dull edge and take your time.
Once the solid gum is gone, treat any greasy or colored residue based on the fabric or surface underneath.
Don’t yank gum out of carpet and take half the carpet fibers with it.
When a Stain Isn’t Actually a Stain
This is important because sometimes you can clean something until next Tuesday and it’s never going to disappear.
That’s because the mark may actually be:
- Bleached fabric
- Faded dye
- Etched stone
- Burn damage
- A scratch
- Heat damage
- Worn finish
- Permanent dye transfer
You can’t clean away material that’s been physically changed.
If vinegar etched your marble, more vinegar isn’t going to fix it.
If bleach removed the color from a shirt, stain remover can’t put the dye back.
If a nonstick coating is scratched, baking soda isn’t going to heal it.
Sometimes the best stain-removal decision you can make is knowing when to stop.
The Quick “What Do I Do Right Now?” Stain Guide
If you’re standing there with a brand-new mess and don’t have time to read this entire post, here’s where to start.
Grease or oil on clothes: Blot excess. Pretreat with dish soap or liquid laundry detergent. Wash and check before drying.
Blood on clothes: Cold water first. Spot-test hydrogen peroxide, blot and rinse. Use an enzyme pretreatment if needed. Wash and air-dry or inspect before using the dryer.
Fruit or berry stains: Rinse from the back, pretreat and wash.
Coffee or tea: Blot, rinse with cool water, pretreat and wash.
Tomato sauce: Scrape off excess, rinse from the back with cold water, pretreat and wash.
Ink: Spot-test 91% isopropyl alcohol. Blot the ink onto white towels, rinse, wash and air-dry.
Fresh crayon on clothes: Scrape off wax, work in dish soap, rinse with warm water and wash.
Crayon after the dryer: Scrape off wax, work in dish soap, then wash on the hottest setting safe for the fabric with detergent and color-safe oxygen bleach. Air-dry and repeat if necessary. Clean the dryer drum before putting another load in.
Crayon on the wall: Damp cloth and dish soap first. Test a Magic Eraser if needed.
Marker on the wall: Soap and water first. If necessary, spot-test 91% isopropyl alcohol.
Pet urine: Blot first. Use an enzyme pet-stain cleaner and follow its directions. Once that treatment is complete, spot-test hydrogen peroxide on colorfast carpet or upholstery for lingering stain or odor. Don’t mix the products together.
Hair dye in a sink: Identify what the sink is made of. Start with warm soapy water, then use a non-scratch cleaner that’s compatible with the sink material.
Quartz or laminate counter: Mild dish soap, warm water and a soft cloth.
Granite or marble: Use a pH-neutral stone-safe cleaner. Don’t use vinegar or lemon juice on marble.
Stainless-steel sink: Dish soap and a soft sponge. Clean with the grain. Skip steel wool and check the manufacturer’s instructions before using bleach.
Plastic cutting board: Wash thoroughly. Try a baking-soda paste for food discoloration.
Wood cutting board: Wash, rinse and dry promptly. Don’t soak it.
Stainless-steel pan: Soak first, then use baking soda or a non-scratch stainless cleaner for stubborn residue.
Nonstick pan: Warm soapy water and a soft sponge.
Cast iron: Wash with warm soapy water and a stiff brush or scraper, dry completely and wipe with a thin layer of oil if needed. For rust, scour, wash, dry and re-season.
Enameled cookware: Let it cool before washing with warm water, mild soap and a soft sponge. For stubborn stuck-on food, simmer a little baking soda in water, cool and wash.
The Real Secret to Getting Stains Out
I wish I could tell you there was one magical bottle that removes absolutely everything from absolutely everything.
There isn’t.
Sometimes the answer is dish soap.
Sometimes it’s hydrogen peroxide.
Sometimes it’s an enzyme cleaner.
Sometimes it’s 91% alcohol.
Sometimes it’s baking soda.
Sometimes it’s a special cleaner made for stone.
And sometimes the smartest thing you can do is not touch the stain until you figure out what the surface is made of.
That’s probably the biggest lesson here.
Figure out what made the stain.
Figure out what it landed on.
Start with the gentlest method.
Test first.
Give it time to work.
Repeat the treatment before jumping to something harsher.
And for the love of laundry, if you still see the stain, don’t put it in the dryer.
Especially if crayons are involved.
Need a free cheat sheet? Say no more – here you go!
Grab it here:
Stain Removal Cheat Sheet <—- Click here





Leave a Reply