When my kids were little I always liked the idea of getting them in the kitchen to bake. It didn’t always happen, mind you, I said I always liked the idea… lol!

Easy DIY Peppermint Ornaments
When they were mostly teens I found this fun activity: Easy DIY Peppermint Ornaments – but, of course they weren’t interested, so I made them and took them to the kids at church and they loved them!
So, I thought I would share this very simple yet fun project with you! This is a great project for a “homemade Christmas” because they make a fun holiday craft and they also make very frugal Christmas decorations!

When I say simple, I mean REALLY simple. I have always done these “freehand” and this time I made some that way and then I tried using some cookie cutters (made of steel so they can be “cooked”).
These supplies can be picked up at Dollar Tree making this a very frugal DIY craft.
For This You’ll Need:
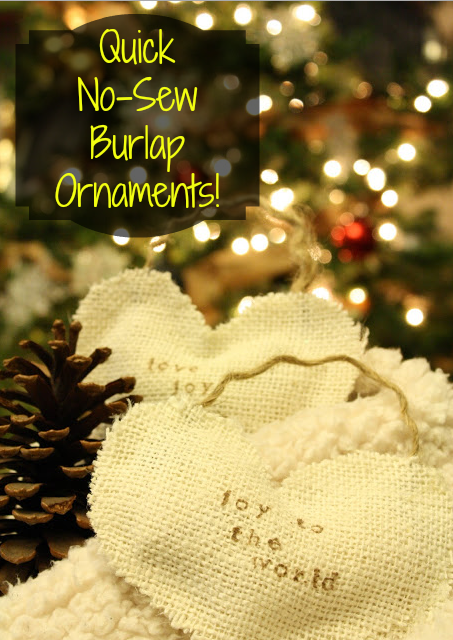
You Might Also Like These DIY Burlap Ornaments
So, for the ones I freehanded I made a few different designs.
- Preheat the oven to 300 degrees
- Cover the cookie sheet with parchment paper
- Lightly spray the cookie sheet
- Remove the wrapping from the Peppermints
- Place the unwrapped candies in the design you want.

For a small round I used 5 Peppermints touching sides, for the larger one I used 12 slightly apart from each other.
Place them in the oven for 6 minutes, if they aren’t ready after 6 minutes keep an eye on them to be sure they don’t “boil”, trust me they will if you leave them too long and that messes up the colors… Pull them out to cool, I moved the parchment paper with them on it to a cooling spot off of the pan to cool them down faster.
While they are still “melty” you can use a toothpick sprayed with a bit of cooking spray to make the holes to hang them on the tree.

I tried a few more designs, too. My Granddaughter stopped by and suggested I make an “A” for her first initial 🙂

Then I used a few cookie cutters to make an Angel, Star, and Candy Cane. For those, spray a little cooking spray inside the cookie cutters before placing the candies.
I stacked the candies to make them thicker, when they melt they will thin out and break coming out of the molds if you don’t stack them.
You Might Also Like: 31 DIY Christmas Ornaments Includes Popular DIY Mexican Christmas Ornaments

Once they have cooled a bit, pull on the sides of the cookie cutters to release them and carefully “pop” them out trying not to break them.


So, that’s it! Easy project for you and the kids, I think including the cookie cutters I spent a total of a couple of dollars. The cookie cutters were $1 each at Micheal’s but they had a 50% off coupon on 1 regularly priced item, so I checked out a few times 😉


Margie says
They are wonderful and really work!! Thanks!!
Dian says
Margie,
You’re very welcome – they are so fun for the kids!
Dian